Payee Management
You can add payees to be re-used across all transactions. In addition you can edit and delete them all within the mobile apps.
Add Payees
In order to add a payee you must go through the transaction form.
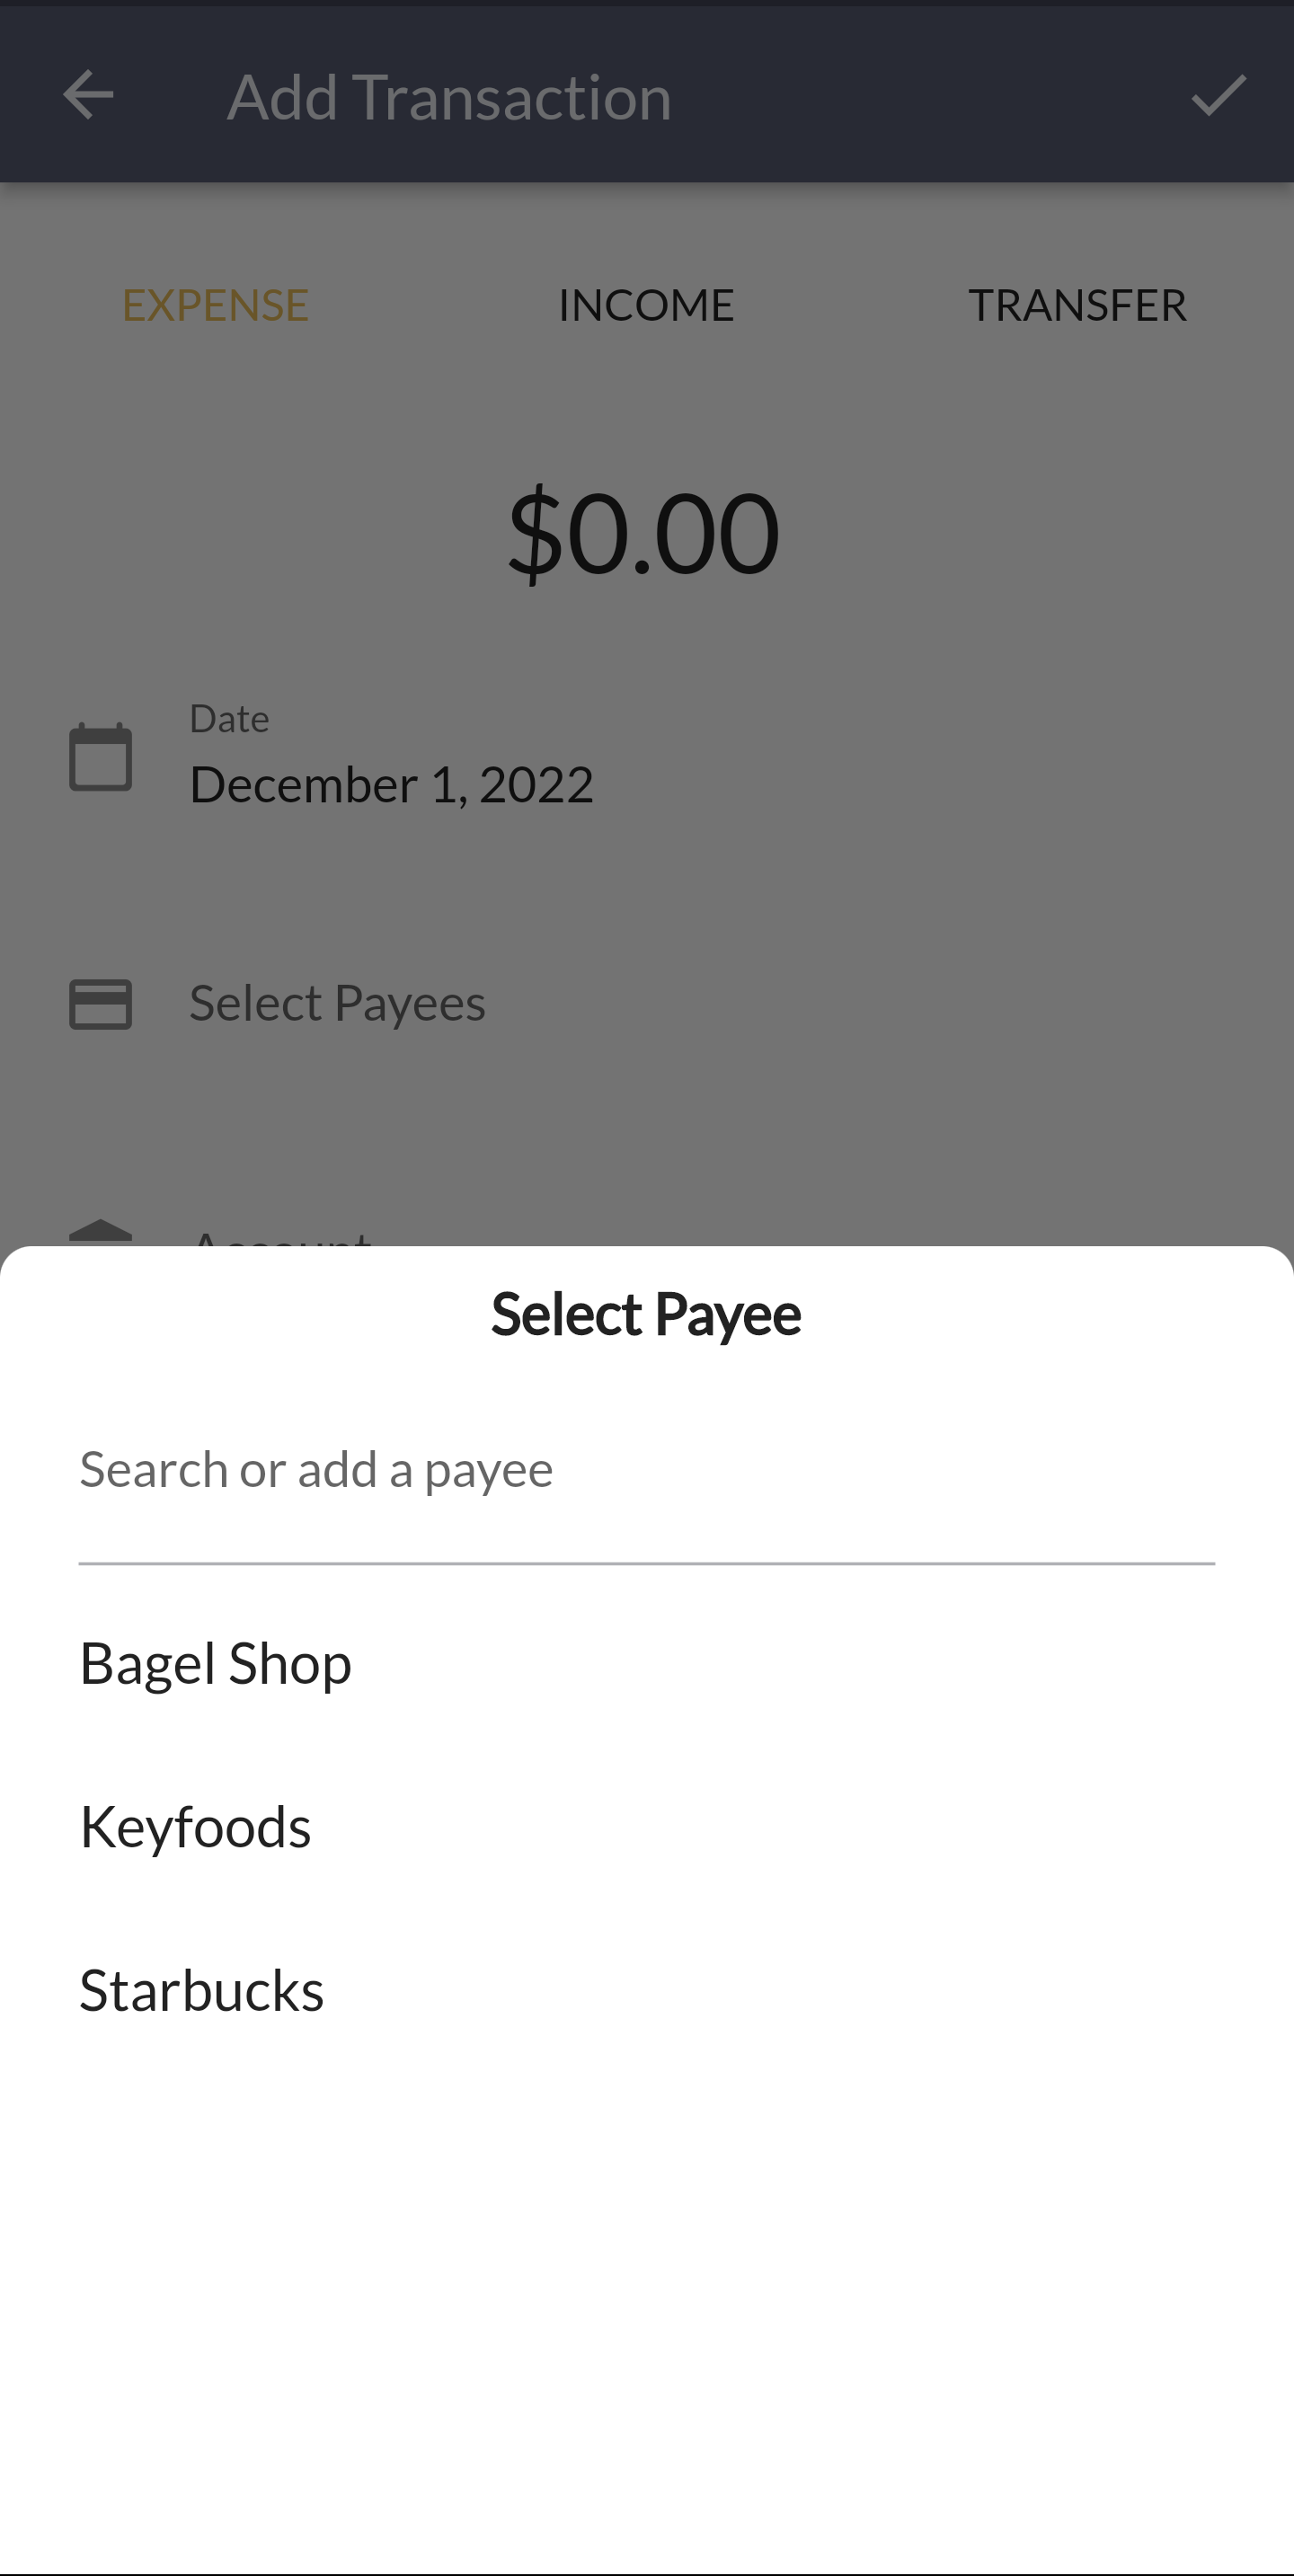
- Click the "Select Payees" field, which opens up a bottom sheet.
- If you don't have payees you can add one by entering it in the text field.
- Using the same text field you can search through your payees to select one.

Manage Payees
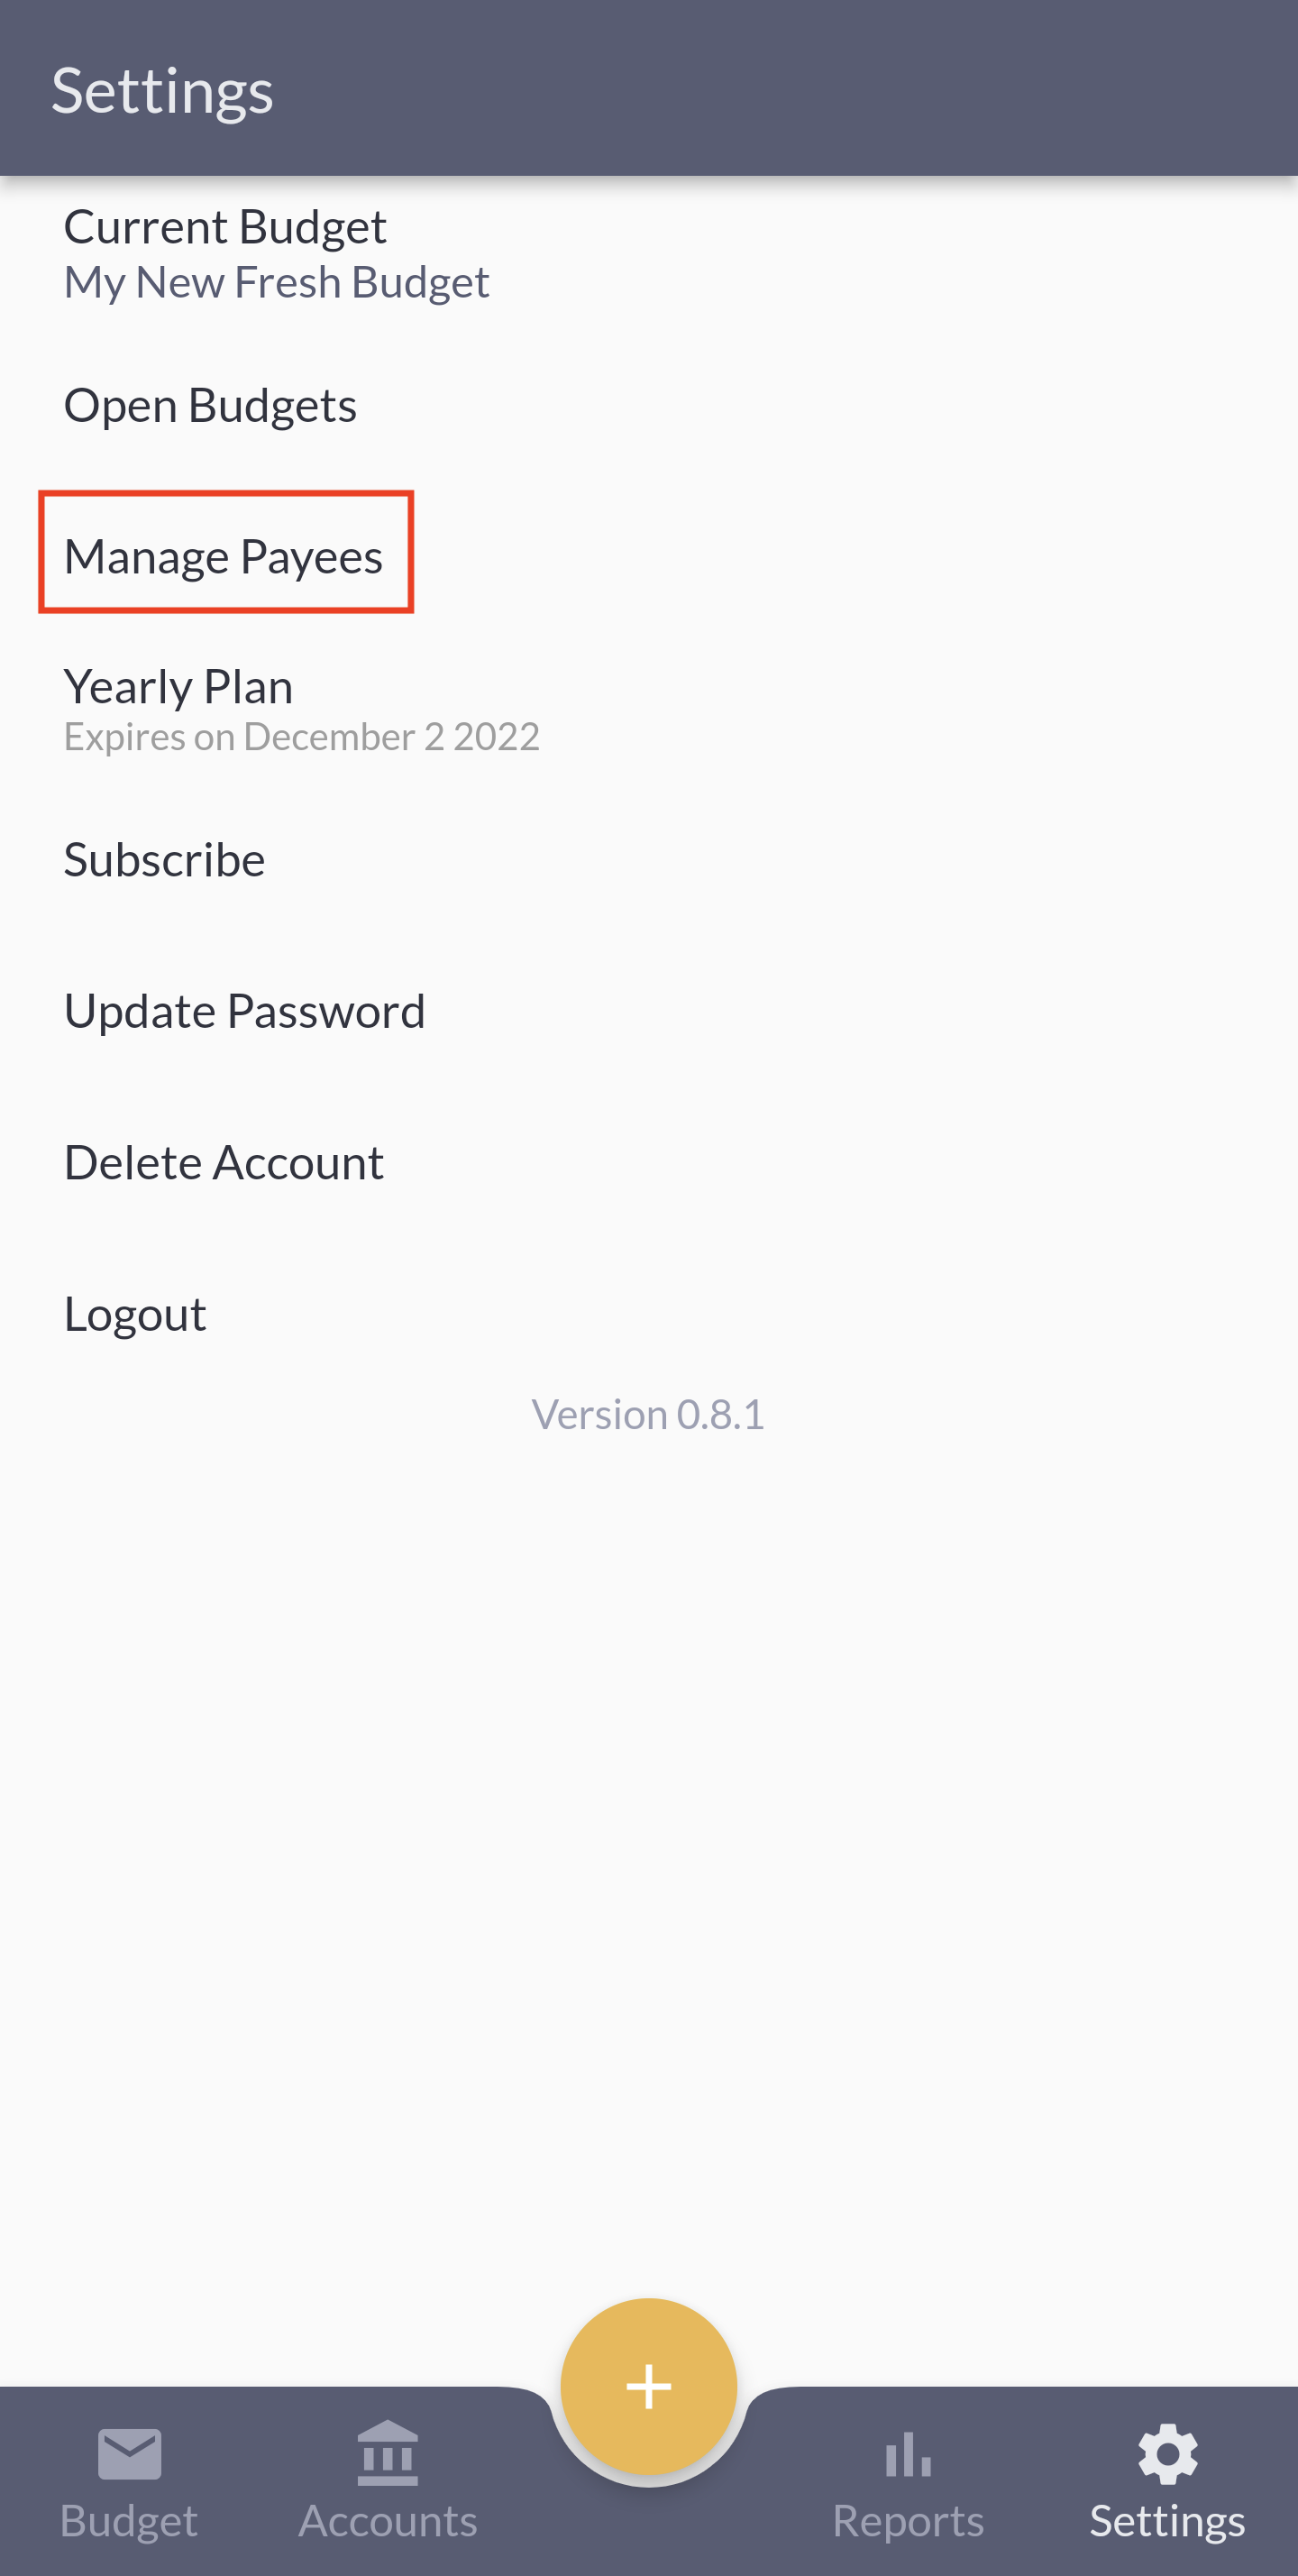
In order to manage payees you can go to the settings screen. Look for "Manage Payees" and click it.

Edit or Delete Payees
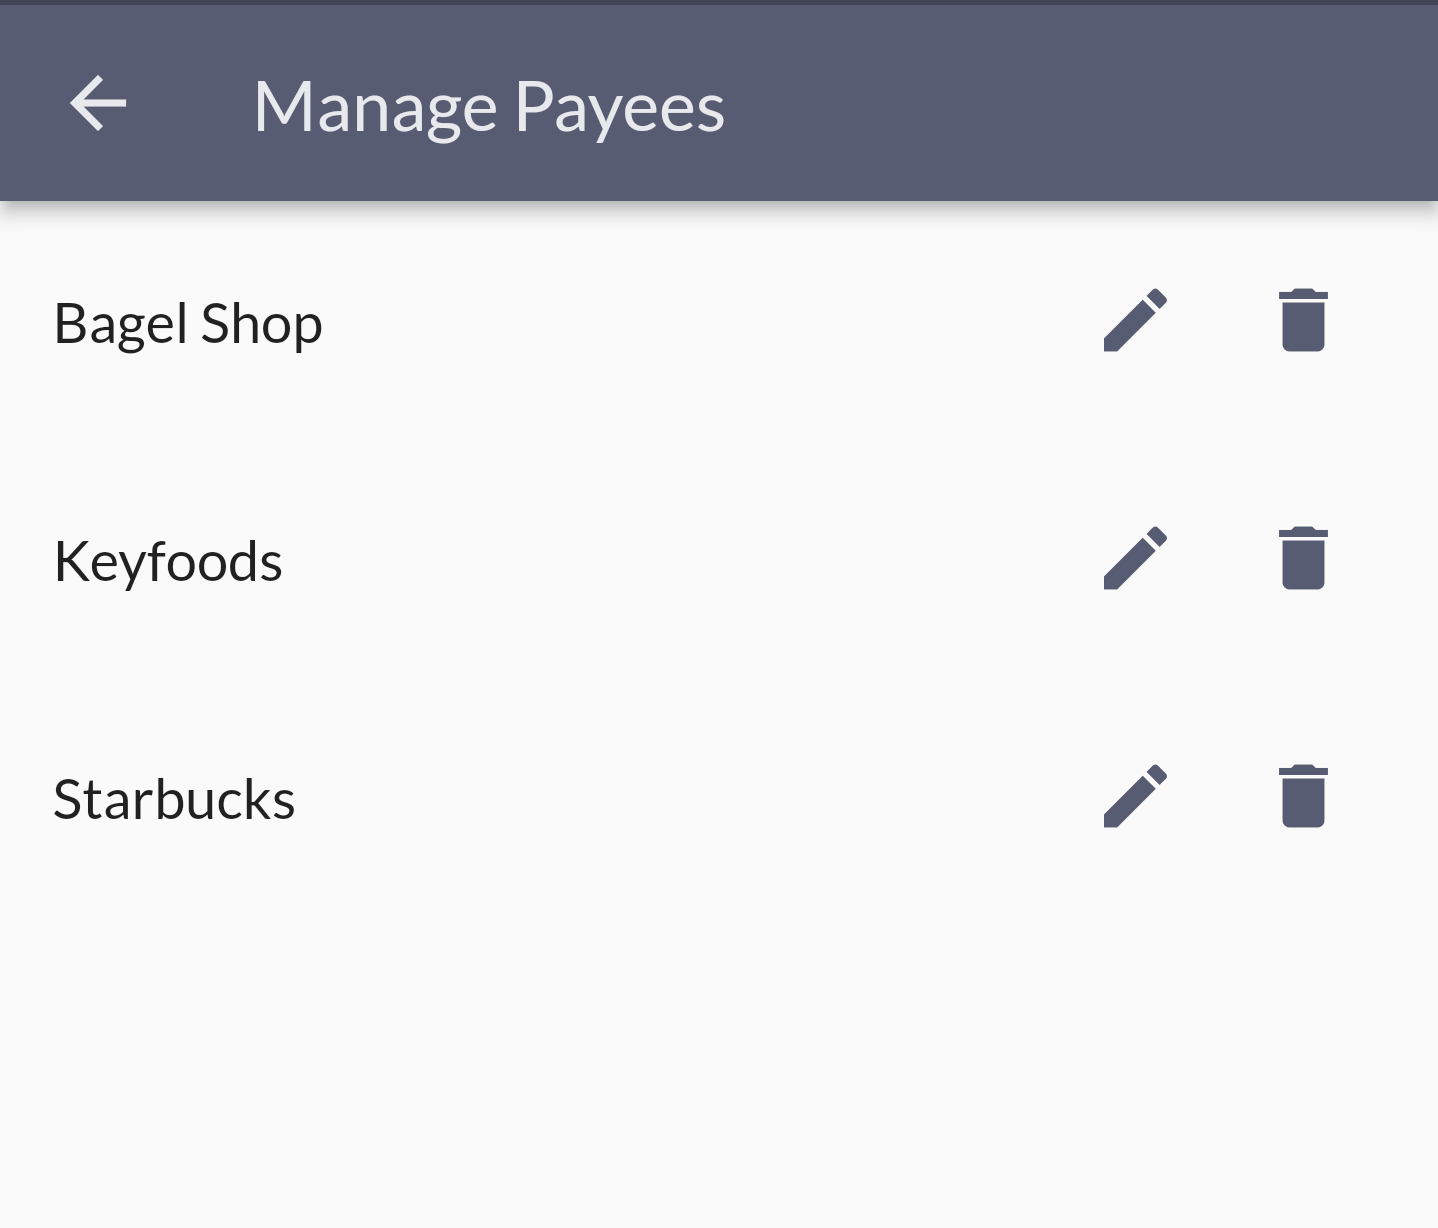
From the manage payees screen you can edit payee names or delete the payee.

Legacy Payees
Prior to version 0.8.1, payees with the same merchant were manually added on each transaction. Those payees would be untouched with the addition of the new payees system. But there is one place that needs to be updated manually moving forward: recurring transactions.
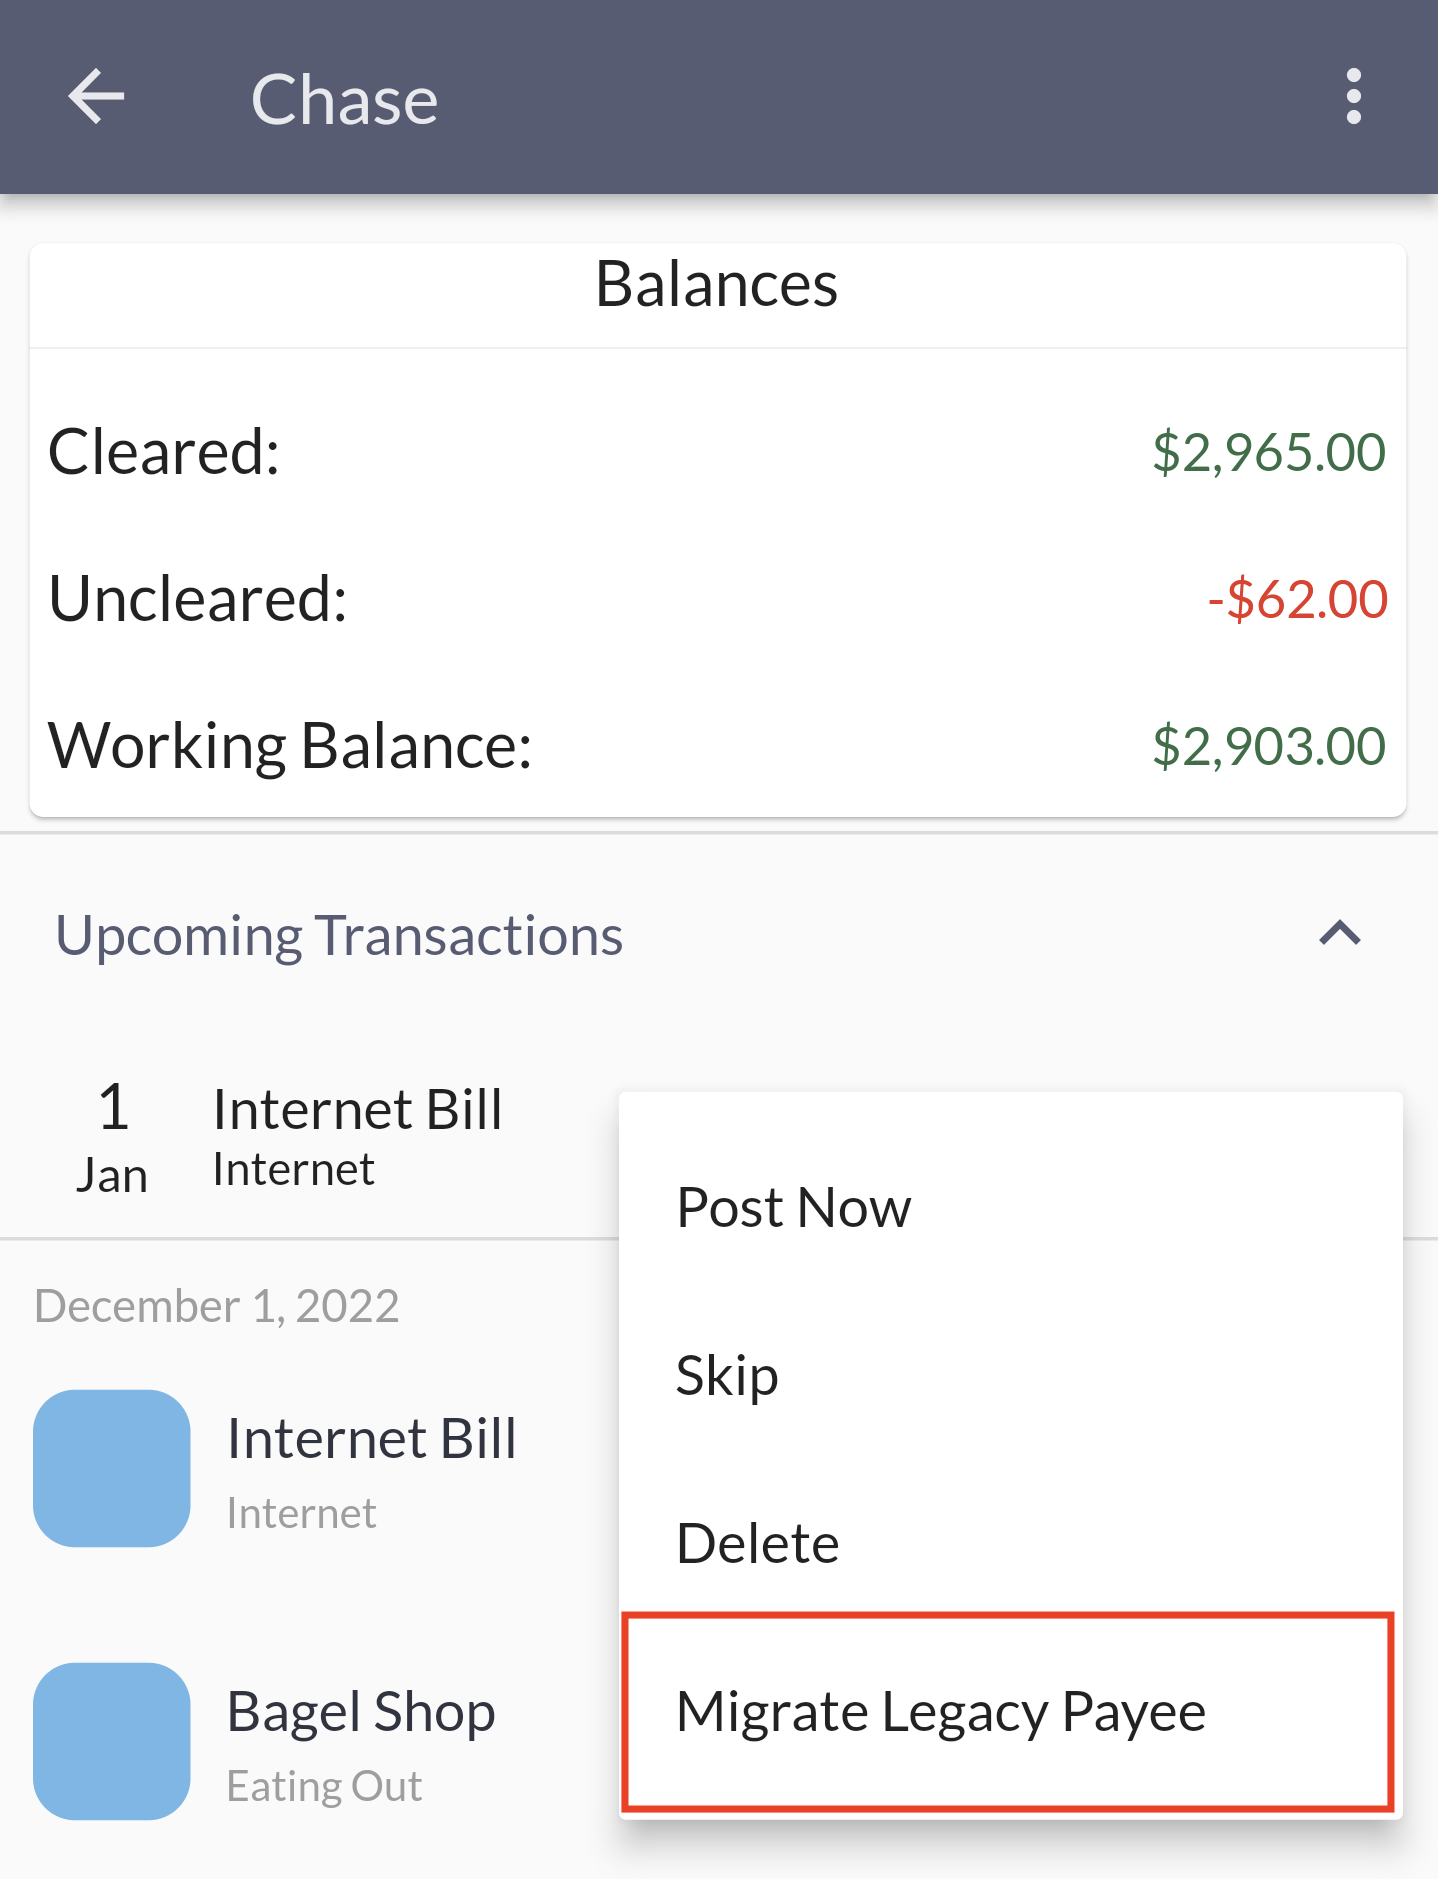
If you go to your "Upcoming Transactions" section in the account transactions screen, click the overflow button to open up the actions to take on your recurring transactions. You will notice a "Migrate Legacy Payee". This is required if you want to quickly take the legacy payees associated with your recurring transactions and automatically add them as new and improved payees. Only recurring transactions without the new payees will show you this options. So it'll be easy to go down the list and migrate them.

You can alternatively delete the recurring transactions and re-create them. Maybe the payee should be renamed. Although remember that after a payee is created you can edit it in the manage payee screen.