All About Categories
One of the basics of budgeting in Centsible are categories. Categories represent spending and saving. For example, you could have a clothing category, internet category, and a rent category. You can also have an emergency fund or vacation category. Those represent acts of saving vs spending.
Category Types
Centsible has two types of categories:
- Category Groups (a.k.a Groups)
- Category
Category groups are used simply to group similar categories together. The grouping is up to you. For example, you could group all your monthly bills under a group called "Bills". Or you can call the group "Monthly Bills". Regardless of the naming., category groups are only ever used to logically order your budget.
A plain old category is what will represent your specific spending/saving items. For example, groceries, eating out, vacation. When adding transactions you'll specifically link it with a specific category.
Adding Category Group
Adding a category group can be done by scrolling to the bottom of the budget screen. At the very bottom is a button labeled "ADd Group. Click it and you'll be taken to another screen where you can give the new group a name.

Editing Category Group
Editing a category group can be done by clicking the plus icon next to the category group on the budget screen.

A bottom sheet will appear from the bottom giving you options of what to do. Select "Edit Group". You'll be taken to a different screen to change the name of the category group.
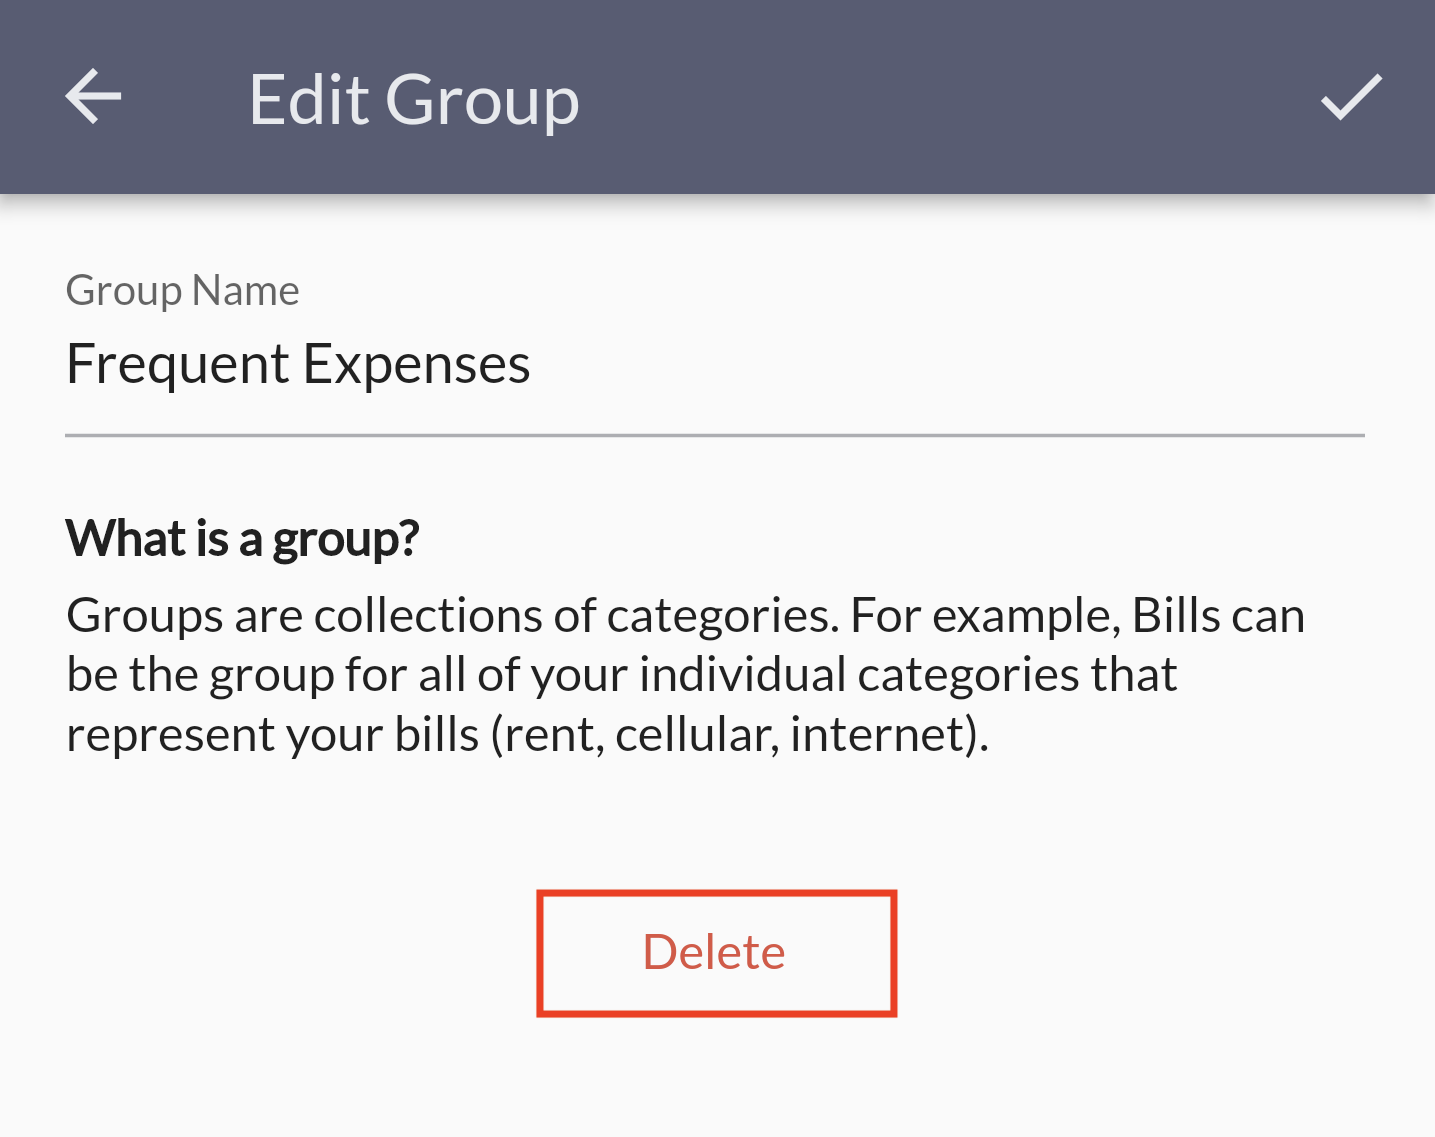
Deleting Category Group
To delete a category click the plus icon, click "Edit Group", then a click the delete button.
In order to delete a category group, all it's children categories must be either deleted or moved to another category group.
Add Category
In order to add a category you must click the area around the icon box or label of the category.

A bottom sheet with actions to peform will slide up from the bottom. Select "Add Category"
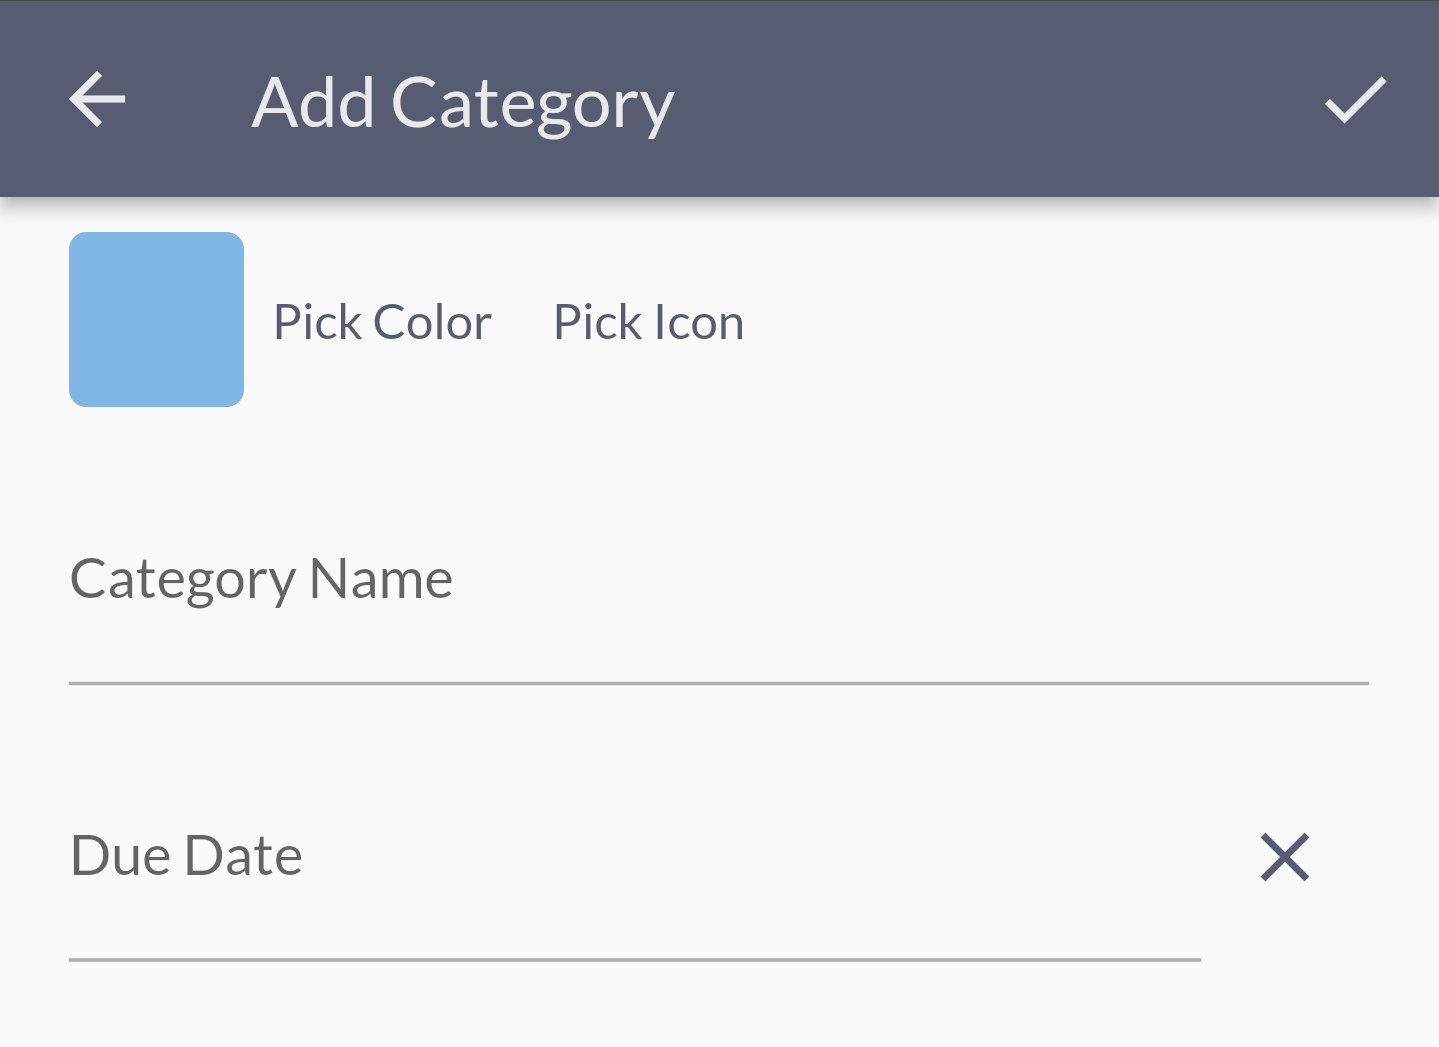
You will be taken to a new screen in order to add your new category. This screen has a few extra parts outside of the category name that are worth pointing out. You can add the following on categories:
- You can pick a custom color to represent your category.
- You can pick an icon.
- You can set a due date as a reminder for when you need to have money available.
Edit Category
In order to edit a category you must click on the category in question. Anywhere in the area highlighted in red is fine.
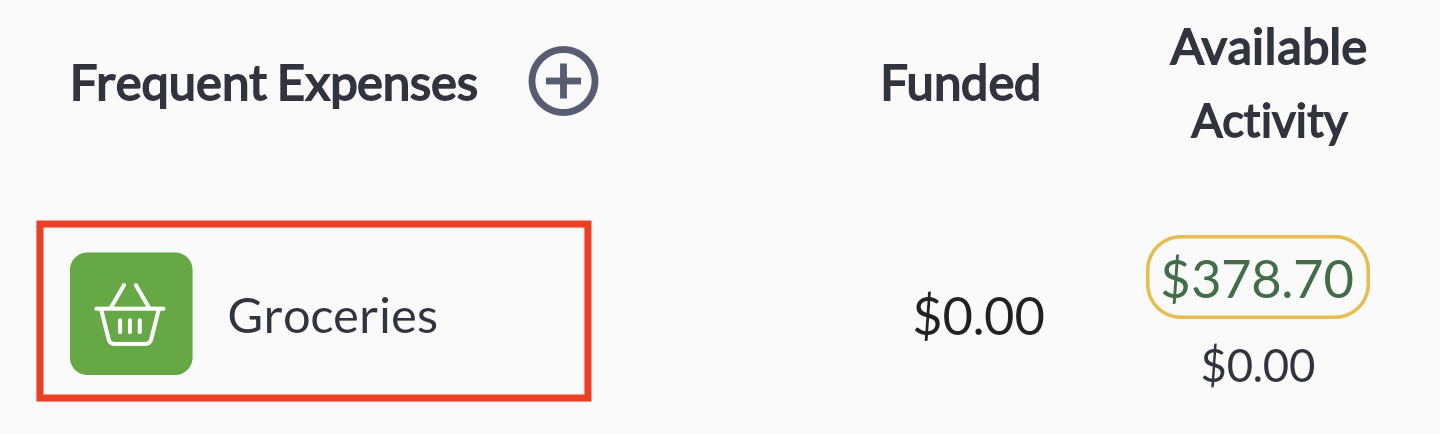
It will open up a bottom sheet with options. Select "Edit Category" and you will be taken to the category form to edit the category.
Delete Category
In order to delete a category follow the same steps to edit a category. A "Delete" button will show up at the bottom of the edit form if you can delete it.
Deleting a category is a destructive event. Because of this you cannot delete a category without first deleting all the transactions it is associated with. You will get a pop-up dialog telling you this so you know. In general it is recommended you hide the category unless it only has a few transactions.
Hiding Categories
You will eventually end up in a situation where you no longer need a category. But there is a limitation. Categories with history cannot be deleted. Meaning once you've used it in a transaction you cannot delete the category. So what do you do? We recommend hiding the category. In order to hide a category you must:
- Click on the category lable area.
- Click Hide
You are done. You can access hidden categories on the category order screen coming up next.
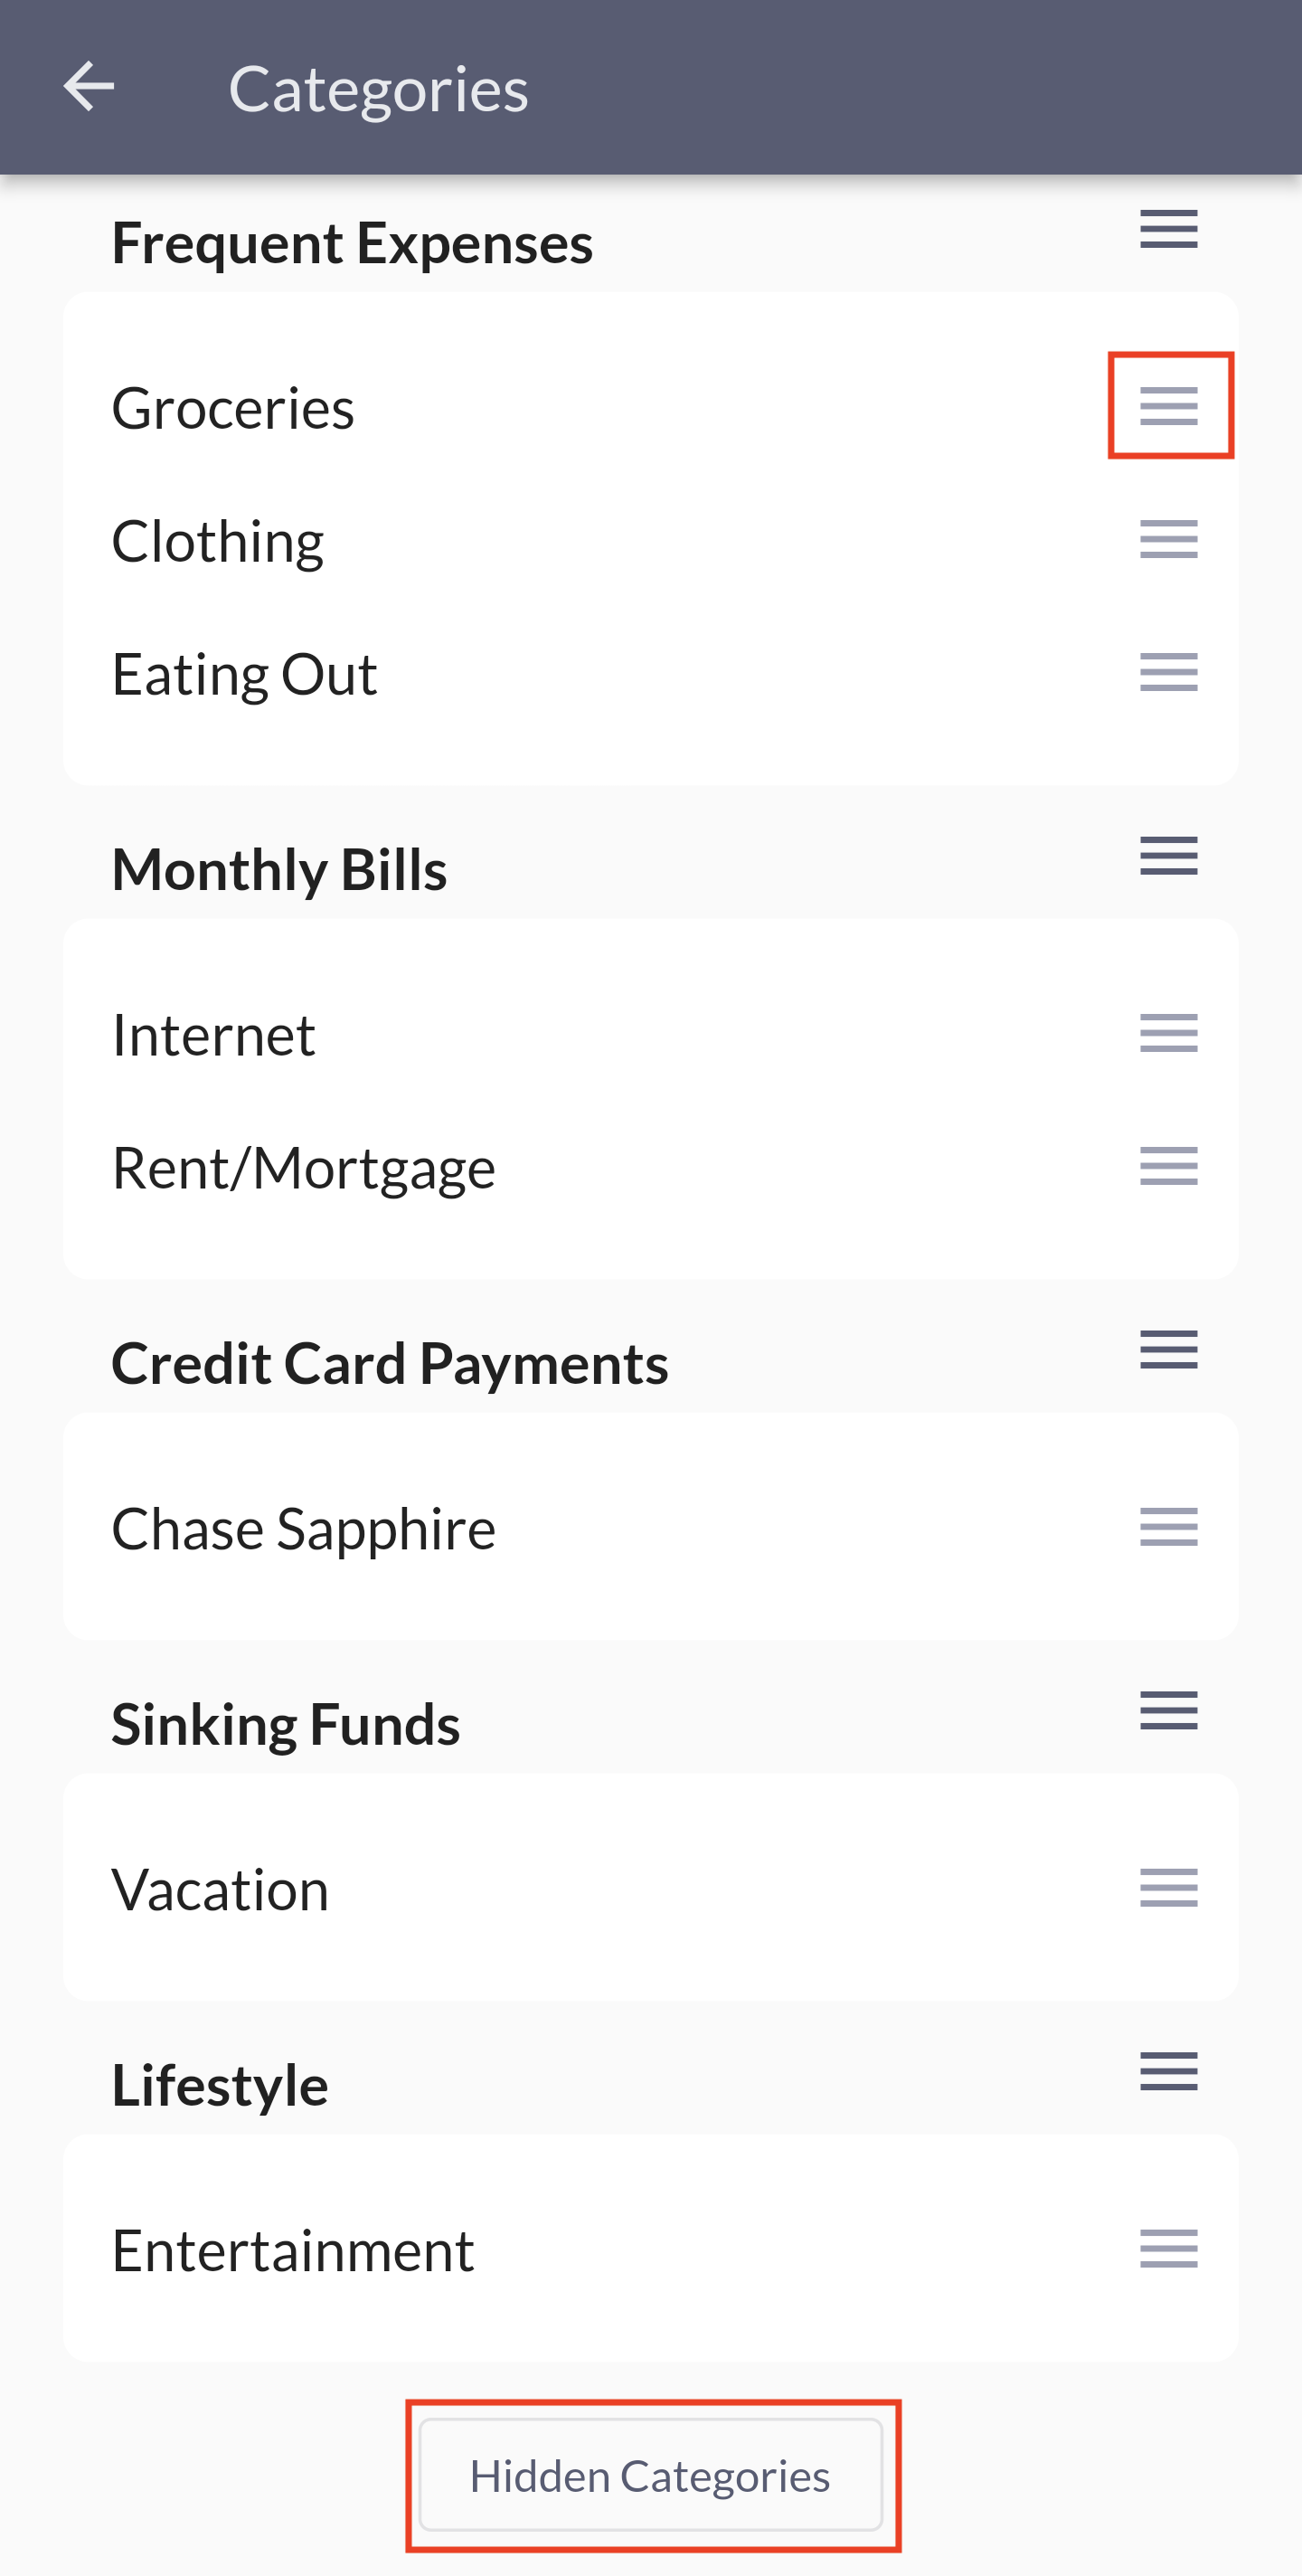
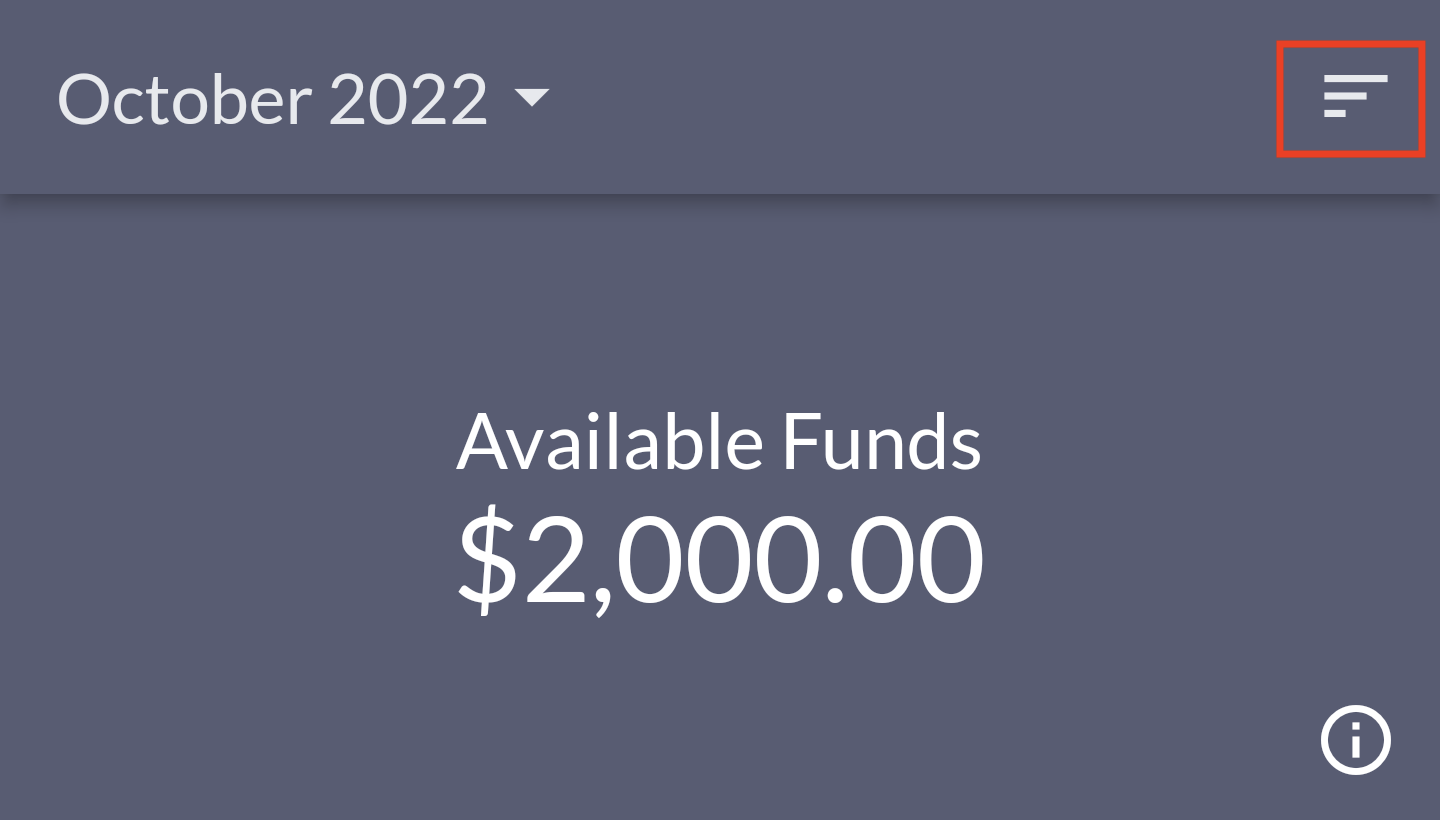
Order Categories
You can easily order your budget to make it work for you. All you need to do is click the icon at the top right.
You will be taken to a new screen with your categories. To the right is an icon you can drag to re-order your categories. You can order categories within their group, or move them to another group.
At the bottom of the screen is a button to access the categories you have hidden. You can unhide them there.